- Introduction
- What overprovisioning is, why it improves reliability and performance, and when it may be necessary.
- General rules of overprovisioning
- What is the optimal size of the over-provisioning area?
- Configuring overprovisioning for Samsung disks.
- Configuring overprovisioning for any disks.
- Conclusions
Introduction
Many myths and prejudices exist about SSD disks, such as the need to disable the swap file in Windows. This has led to a range of dubious recommendations for system tweaks. However, there are some methods that really work. One way to improve SSD performance is to reserve space on the drive. And surprisingly, it is available to all users and practically free of charge.
This article explains how to reserve space on an SSD, how it affects performance, and how to set it up on different types of drives. It also discusses why it’s important for maintaining high performance and longevity, and how it helps prevent premature drive wear.
What overprovisioning is, why it improves reliability and performance, and when it may be necessary.
When people talk about overprovisioning technology, they usually start by explaining how solid state drives (SSDs) are organized, their data recording capabilities, and other technical details. But let’s skip the complicated terms. Let’s keep it simple: SSD reliability is highly dependent on how much data is written and under what circumstances. If there is little free space on the disk, it is difficult for the controller to ensure an even distribution of data, and the lifespan of the SSD can be significantly shortened.
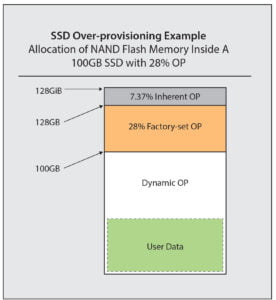
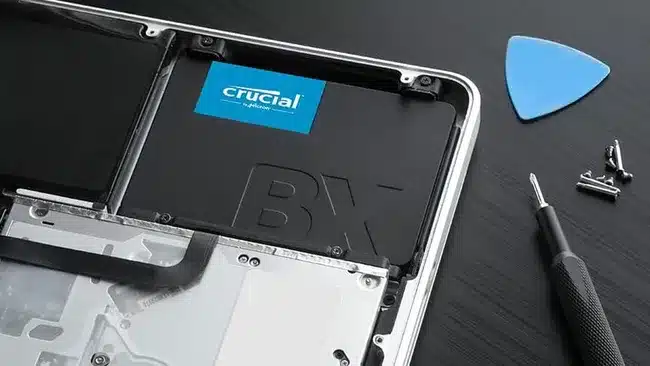
One way to prevent this is to over-provision, which we will call “over-provisioning”. Its essence is simple – a part of the disk space (flash memory chips) always remains free. Each SSD has a so-called “service area”, which is invisible to the user, but is used by the controller for redundancy. Usually it is about 7% of the disk volume. By the way, this is why SSDs usually don’t match their advertised capacity to their actual available capacity. For example, a 256GB drive will show about 240GB available when formatted.
But in addition to this critical area, the user can create an additional overprovisioning area at will. As tests by SSD manufacturers show – this can increase the performance and reliability of the drive (here is a link to tests by Seagate, Kingston and Samsung).
This is especially important in cases where large amounts of data are constantly or frequently written to the disk – this is rarely the case in home use, but often in enterprise – servers and workstations.
However, if you can increase SSD life and speed for free, why not do it on your home computer?
General rules of overprovisioning
As mentioned earlier, free space is important for the operation of the SSD controller. Therefore, if the operating system is configured correctly – it processes the TRIM command – and there is enough free space on the disk, under ideal conditions it will be enough. In practice, however, all sorts of things happen, e.g. users often fill the disk completely, there is not enough space and the disk efficiency drops.
That’s why it’s always better to manually reserve additional disk space so that the controller can automatically provide the reliability and speed of an SSD.
What is the optimal size of the over-provisioning area?
This may seem like a simple question, but the answer depends on several factors. First, the size of your solid-state drive, and second, your usage scenarios and how exactly you use your SSD. Let’s take a closer look at these factors.
Drive capacity. The smaller the size of your drive, the harder it is for the controller to find free cells to write to, and the more carefully you need to keep track of the free space on the drive. That’s why for 128-256GB disks we recommend 10% overprovisioning space – 15-25GB, for larger disks it’s quite possible to limit yourself to 5-7%.
Usage mode. Everything is simple here – the more you write to the disk, the more you should overprovision. Especially if it is a random recording of small amounts of data (databases, etc.) – then even more. But if you’re just copying large files (videos), that’s a sequential write, it’s not as destructive to the SSD. If you have an ordinary home computer, it is unlikely that you will do such tasks frequently, so the recommendation from the previous paragraph is quite sufficient. Otherwise, it’s better to increase the overprovisioning area to at least 15-20%, and there already monitor the health and wear of the SSD and in case of acceleration – increase its size. And for example, Kingston believes that for cases of large records it is necessary to have up to 30% of overprovisioning.
Configuring overprovisioning for Samsung disks.
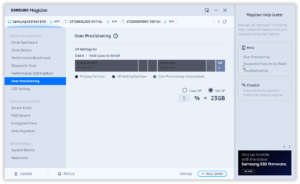
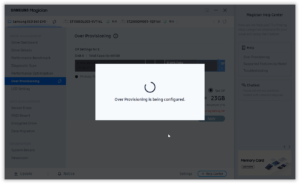
The easiest way to set up an overprovisioning area is with Samsung drives – you can do it with just a few clicks from their proprietary Samsung Magican app.
- First, download the Samsung Magican app from their website and install it. It’s one of the best SSD monitoring apps out there and will come in handy later. It’s just a shame that all its features are only available for Samsung drives.
- Launch Magican and select the drive you want to create a backup for at the top.
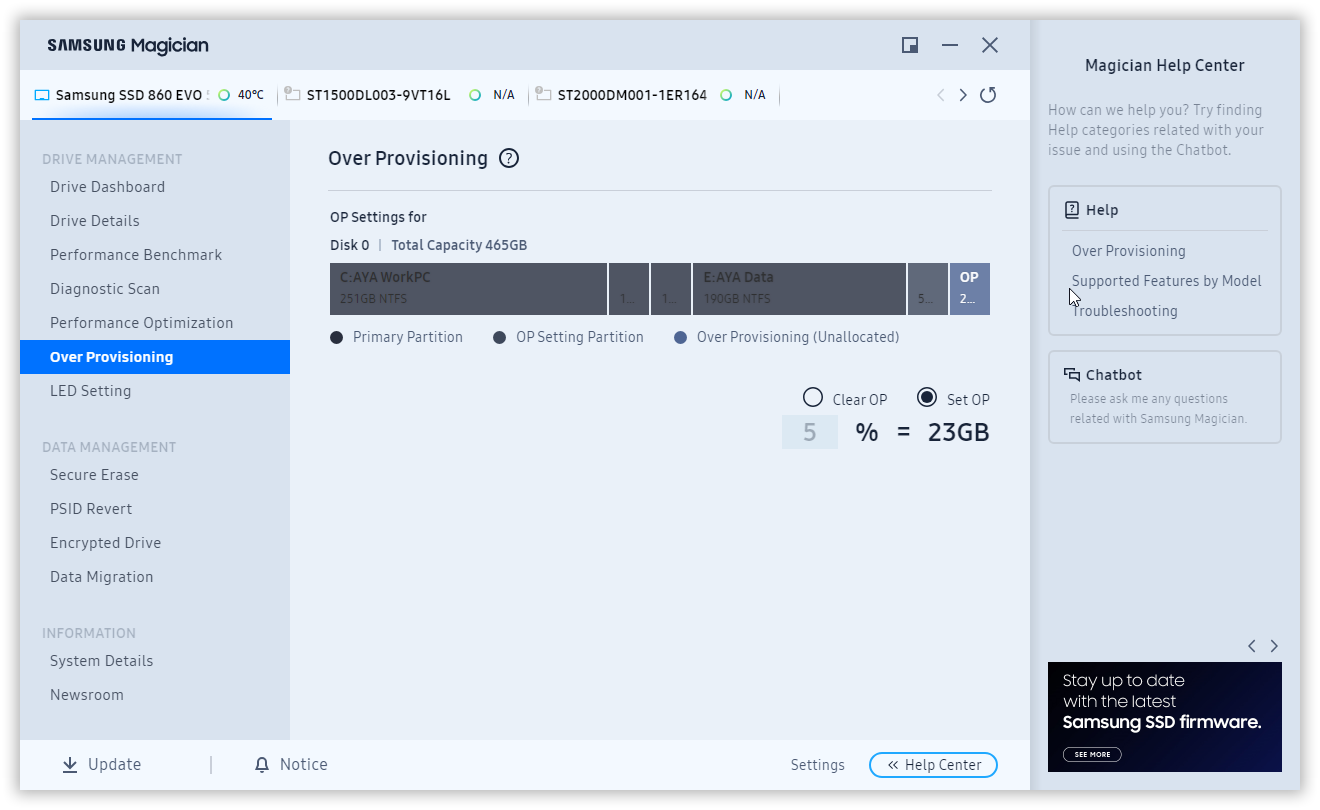
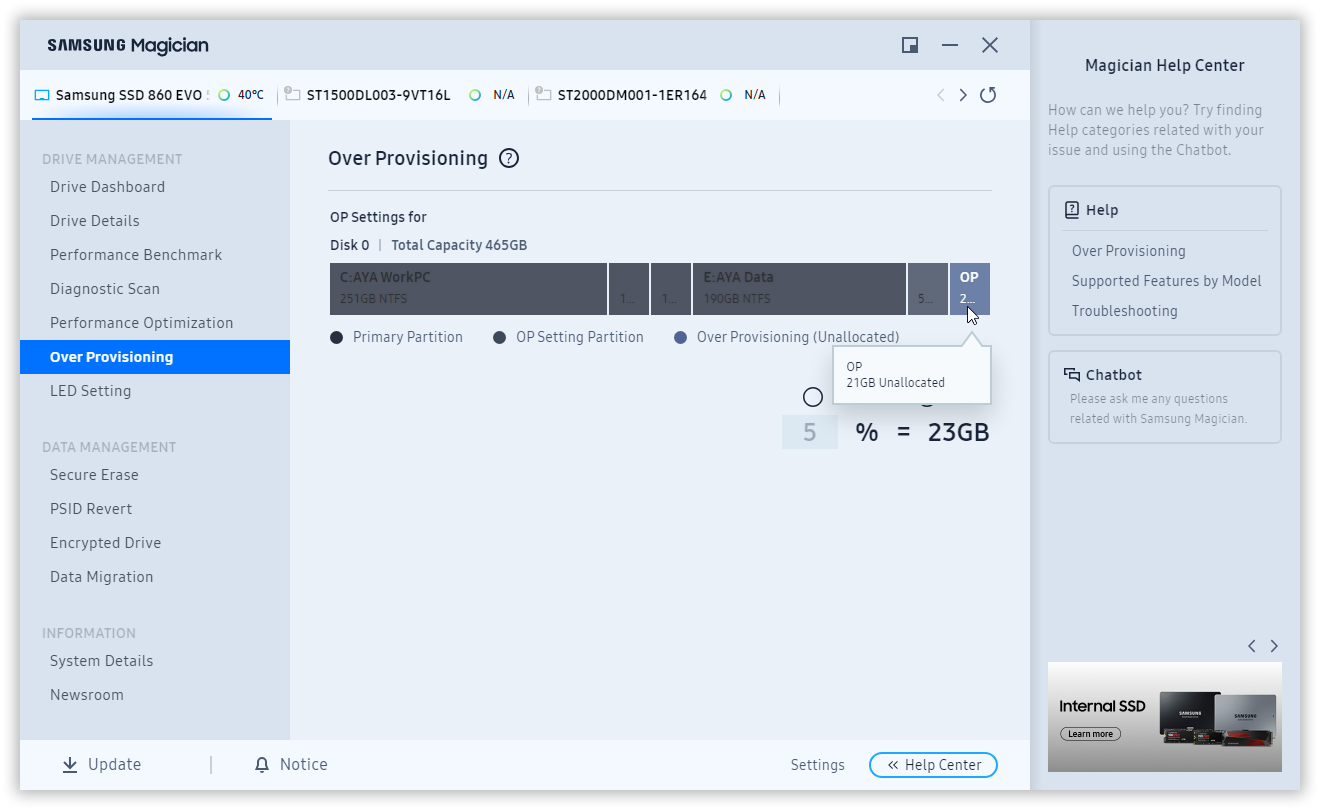
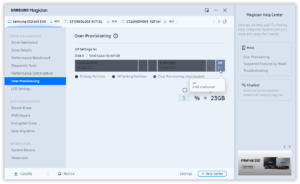
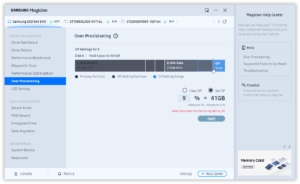
- From the menu on the left, select the “Over Provisioning” section. The program will scan the selected drive and show its current status. If an overprovisioning area already exists, it will be highlighted in a different color and marked with the letters “OP”.
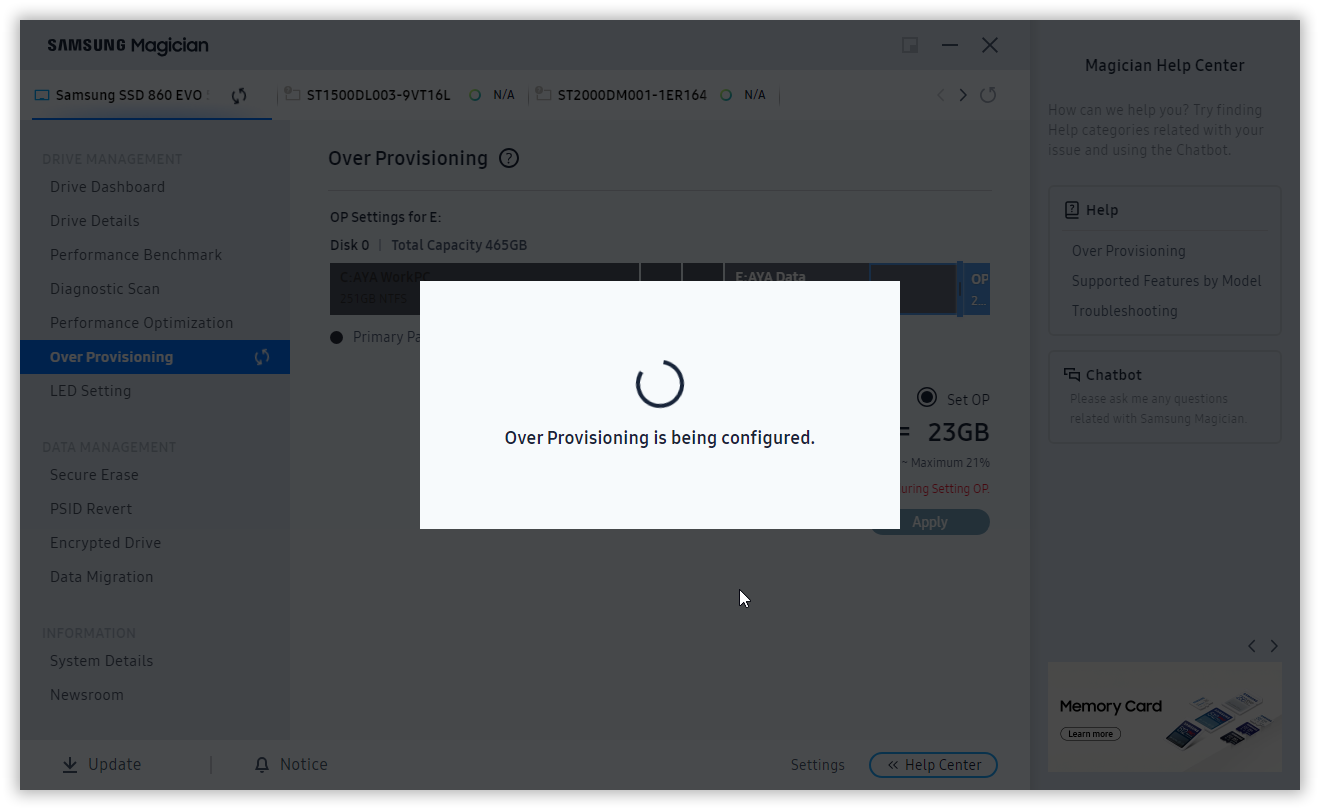
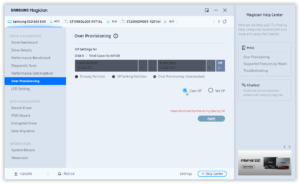
- If there is no partition, to create one, select “Set OP” and set the size of the overprovisioning area as a percentage of the total disk capacity. Usually 7-10% is recommended, but we will discuss the exact value in the section “What is the optimal size of the over-provisioning area”. Click “Apply” and Magican will start working. That’s it!
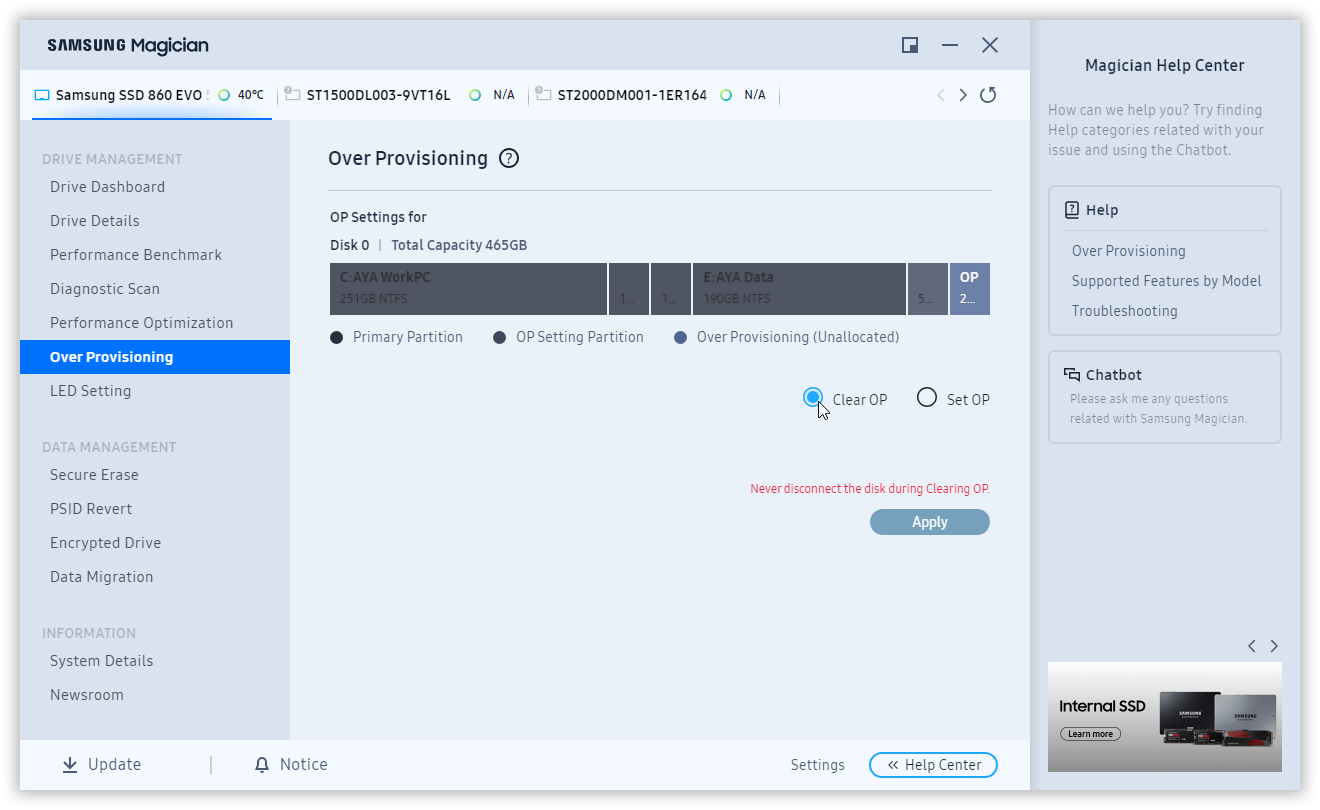
- If there is a partition and you want to change it (make it bigger or smaller), you have to delete it first. Select “Delete OP” and click “Apply”. The overprovisioning area will be deleted. You can then recreate it as described in the previous step.
Configuring overprovisioning for any disks.
But there is a universal method to improve SSD speed and reliability – you can create an overprovisioning area for any manufacturer’s disk absolutely free of charge using built-in Windows tools. To do this, we need the Disk Management add-in from the Administrative Tools.
- Right-click on the Windows main menu (Windows flag button) and select “Disk Management” from the menu that appears. Or just bring up the main menu and start typing “disk” – and in the list that appears, select “Create and format hard disk partitions”. (Funny thing is that the old name is still there, and we will not be doing this with a hard disk, but with an SSD :-)) )
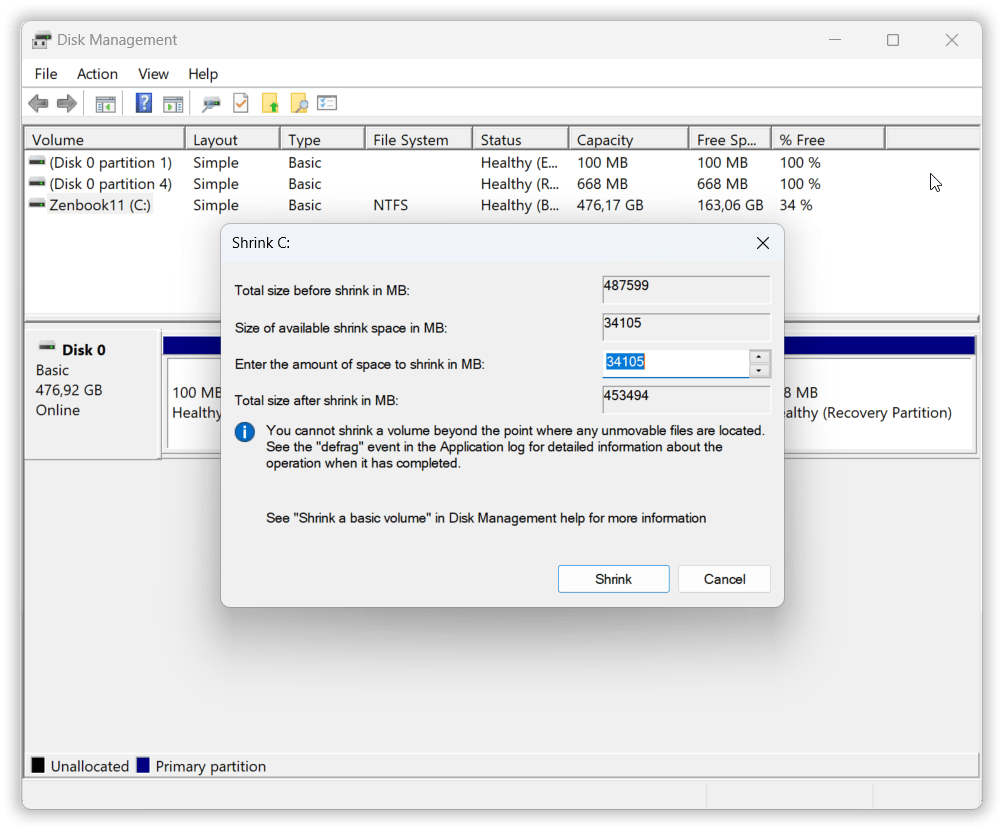
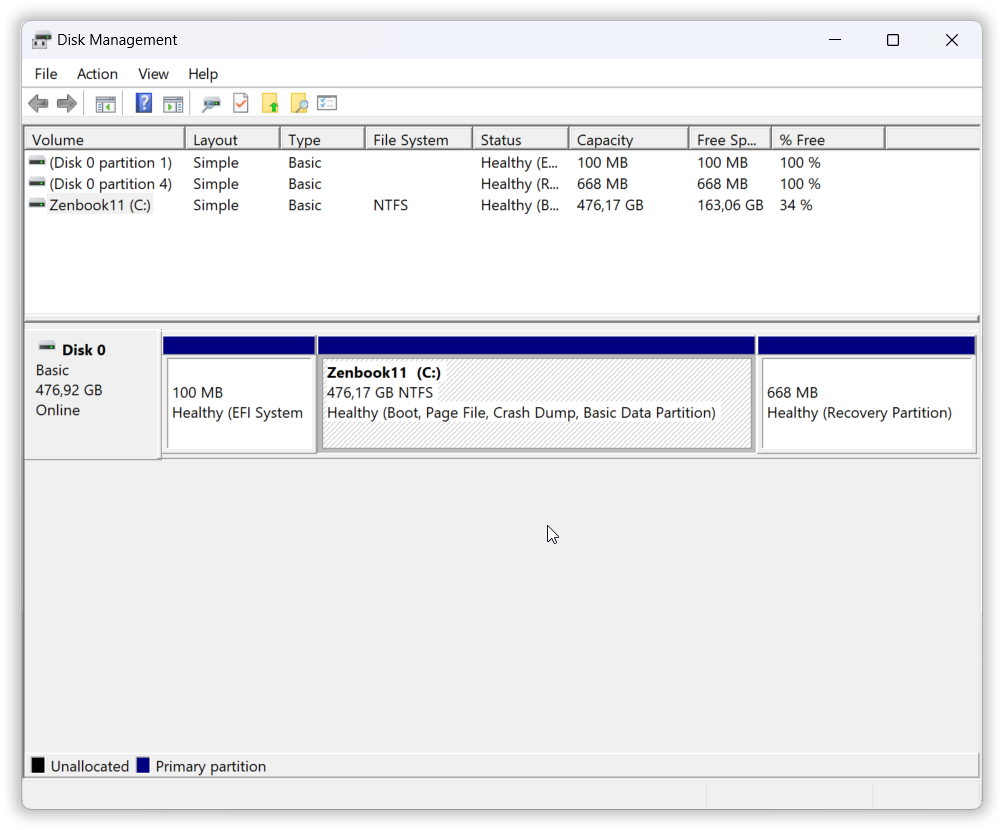
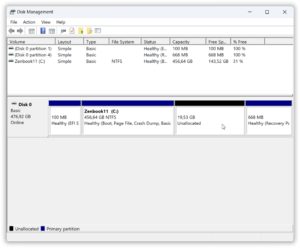
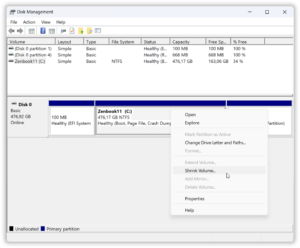
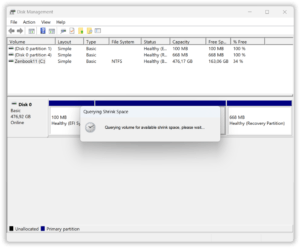
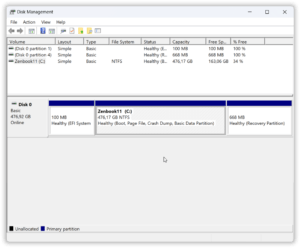
- A window will appear with information about the disks in your computer. Right-click on the disk for which you want to set the backup area and select “Shrink Volume” from the menu that appears.
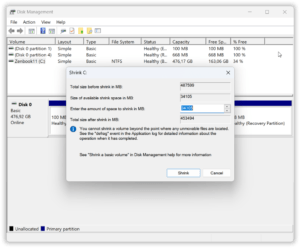
- The program will analyze the available space and show you a dialog where you should enter the volume by which you want to shrink the partition. Actually, this is where you set the size of the over-provisioning area to improve SSD performance and reliability, but unlike the Samsung Magican utility, not as a percentage of the disk capacity, but in megabytes. Enter the desired size of the backup area and click “Shrink”.
- That’s it, the overprovisioning area is created!
Note 1
In rare cases it is possible that the suggested size is too small, in this case we recommend that you try to defragment the disk (it is safe for SSD) and then try to create the backup area again.
Note 2
If you want to delete the overprovisioning area later, you can do it for free using the built-in Windows tools. In the same add-in, right-click on the partition to the left of the over-provisioning area and select “Extend Volume”.
Conclusions
We’ve looked at a truly free way to increase the speed and reliability of SSDs. Its effectiveness is backed by SSD manufacturers’ own research and testing. It doesn’t require any special knowledge or programs – you can do it all by yourself and with built-in Windows utilities. Follow these tips and your SSD will serve you well for a long time!

